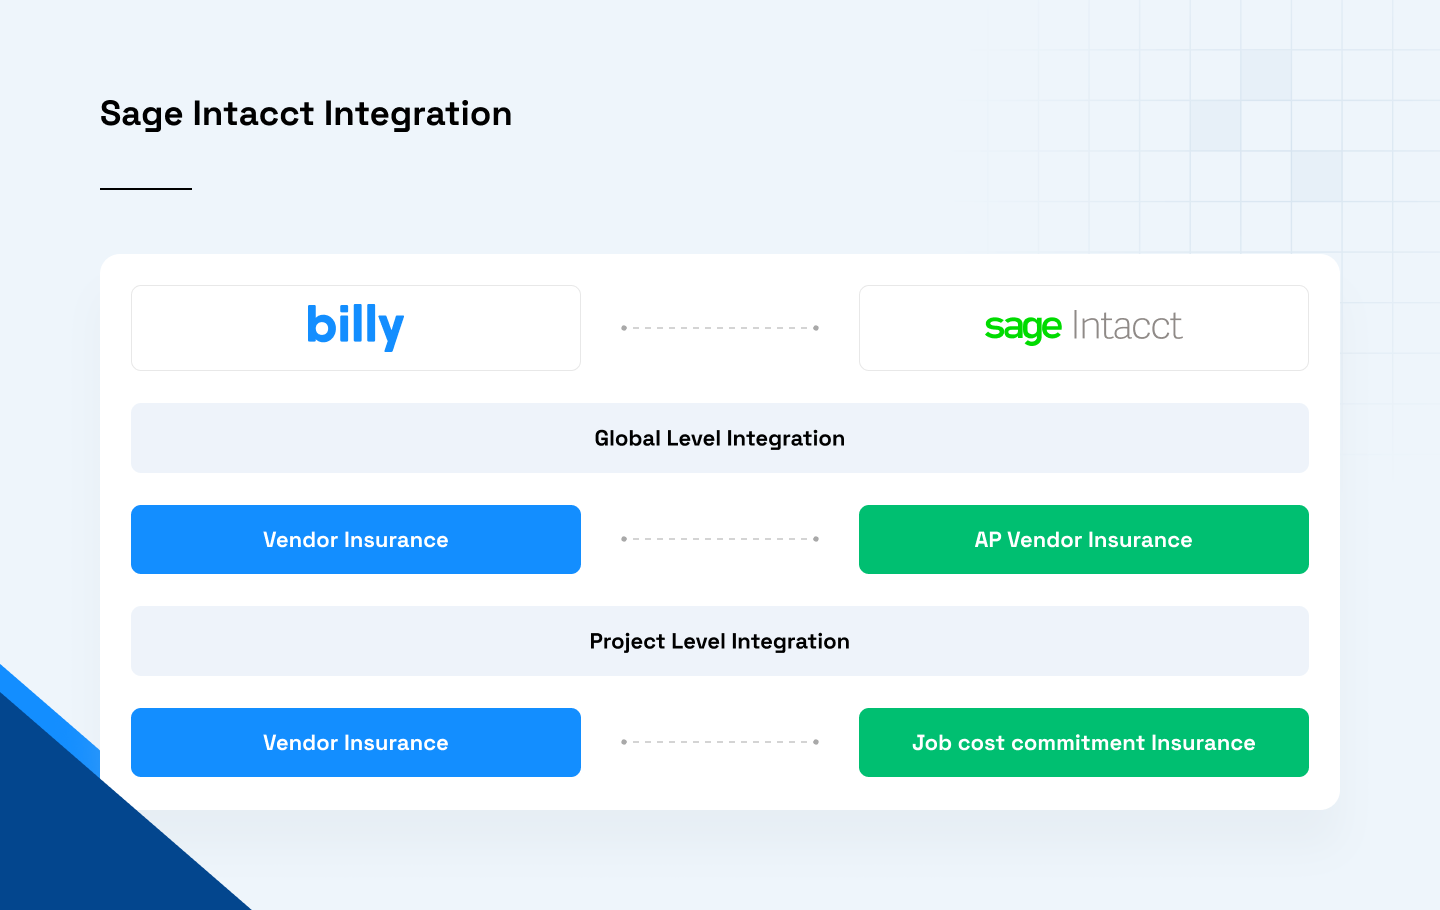
Billy · Vendor Compliance Integration
Configuring Sage Intacct for Billy
Set up your Sage Intacct company so Billy can read and write vendor-compliance data through Sage Intacct Web Services. This guide is for Sage Intacct customers only.
⏱️ ~20–30 min · Requires a Sage Intacct administrator loginBefore you contact the Billy partner team, reserve time with Daniel Williams so your integration engineer is lined up. Grab a 60-minute block on his calendar.
Book a 60-min session with Daniel →Billy connects to Sage Intacct through Web Services (the XML Gateway / REST API). You’ll create the credentials Billy authenticates with, authorize Billy as an allowed sender, turn on the Vendor Compliance module, and — if your integration uses one — install a Billy package.
- An administrator login for your Sage Intacct company
- Your Web Services developer license / Sender ID from Sage (Billy’s Sender ID is
BillyMPP) - The IP address(es) Billy’s API requests come from — Billy provides these
At a glance
- Subscribe to Web Services — turn on the subscription for your company.
- Add Billy’s Sender ID — authorize
BillyMPPto use the XML Gateway. - Authorize Billy’s client app REST only — whitelist Billy’s Client ID.
- Allow Billy’s IP address — add Billy’s IP if IP filtering is on.
- Create the Web Services user — the account Billy signs in as, with the right permissions.
- Enable Vendor Compliance — the module Billy’s integration requires.
- Install the Billy package — if Billy provides one.
1. Subscribe to Web Services
Enable the Web Services subscription first — everything else depends on it.
- Go to Company ▸ Admin ▸ Subscriptions.
- Find Web Services and click it to subscribe.
- You can ignore the warning about additional charges.

2. Add Billy’s Sender ID
Add Billy’s Sender ID, BillyMPP, to your allowed-senders list so Billy can call the XML Gateway.
- Go to Applications ▸ Company ▸ Company ▸ Security tab, then click Edit.
- In the Web Services Authorizations section, click Add.
- Enter the Sender ID:
BillyMPP. - Optionally add a description, e.g. Billy Vendor Compliance.
- Click Save.

3. Authorize Billy’s client application REST API only
Complete this step only if your Billy integration uses the Sage Intacct REST API.
Add Billy’s Client ID (tied to Billy’s production API keys) to your allowed list.
- Go to Applications ▸ Company ▸ Company ▸ Security tab, then click Edit.
- In the Authorized Client Applications section, click Add.
- Enter Billy’s Client ID (Billy provides this, e.g.
a7fc06f71349f36bb725.app.sage.com). - Enter the Web Services User ID exactly as created — this field is case-sensitive.

4. Allow Billy’s IP address
If your company enforces IP address filters, add the IP address(es) Billy launches API requests from.
- Go to Applications ▸ Company ▸ Company ▸ Security tab, then click Edit.
- Find Enforce IP address filters and click the Edit icon.
- Add a filter whose Start and End IP address cover Billy’s IP, tied to Billy’s Web Services user.

5. Create the Web Services user
Billy authenticates as a dedicated Web Services user. How you grant permissions depends on whether your company uses Role-Based or User-Based security — follow the path that matches your setup.
Option A — Role-Based security
Step 1 · Create a role
- Go to Company ▸ Admin ▸ Roles.
- Click Add.
- Enter a Name (e.g.
Billy Integration) and click Save. - Select the permissions for each applicable module, then click Save.

Step 2 · Create the Web Services user
- Go to Company ▸ Admin ▸ Web Services users ▸ Create.
- Enter User ID, Last name, First name, and Email address.
- Set User Type = Business User.
- On the Roles information tab, select the role you created above.
- Click Save. Ignore any warning about a charge for creating the user.
Option B — User-Based security
Step 1 · Create the Web Services user
- Go to Company ▸ Web Services users.
- Click New.
- Enter User ID, Last name, First name, Email address, and set User Type = Business User.
- Click Save.

Step 2 · Add permissions to the new user
- Sage Intacct returns you to the Web Services Users list.
- Find your user and click Subscriptions.
- Select the permissions for each applicable module, then click Save.

6. Enable the required modules
Billy’s compliance integration requires the Vendor Compliance module. Depending on scope, related modules like Purchasing, Order Entry, Inventory Control, or Projects may also need to be enabled and configured.

Vendor Compliance is required. It lets you define compliance requirements, types, and notifications for vendors, projects, and Purchasing documents — the records Billy reads and writes.

- If Billy controls a Purchasing document’s transaction ID, remove the numbering scheme from the Purchase Order transaction definition so Billy can supply the ID.
- Confirm any required timesheet or transaction durations match what the integration expects before go-live.
7. Install the Billy package if provided
Some integrations ship a package that installs Smart Events, Custom Fields, or Custom Reports used by Billy. If Billy sends you a package file, install it here.
- Go to Company ▸ Customization Services.
- Under Customization tools, open Custom packages.
- Click Add, upload the package file Billy provided, and follow the prompts.

8. What to send Billy
Once the steps above are done, share the following with your Billy contact. Never send passwords in plain email — use your agreed secure channel.
| Item | Notes |
|---|---|
| Company ID | Your Sage Intacct company ID |
| Web Services User ID | Exactly as created (case-sensitive) |
| Sender ID confirmation | Confirm BillyMPP has been authorized |
| Environment | Implementation / Sandbox or Production |
| Modules enabled | Confirm Vendor Compliance (+ any others) are on |
Book Daniel Williams for a 60-minute working session before contacting the partner team.
Reserve Daniel’s calendar →